Cooking: Easy French Onion Soup with Bacon and Cheese Bread
20:00:00The first thing I should say about this recipe is I cheat at every turn possible. If there's a gadget I can use to get out of doing manual labour, I'll definitely do it. I appreciate that I'm an extremely spoiled lucky girl who has brilliant kitchen gadgetry. All of this can be done without these gadgets, however. I love to cook, but lets face it, who has time to be in the kitchen all day, every day? Not me, sadly. So if I can cheat my way to a tasty tasty meal, I'll do it.
This french onion soup recipe came from a Morrisons magazine years ago. My OH was the first of us to try making it and its a staple soup in my repetoire. Its not a fully traditional version of the soup, but it is less rich and less high fat than the original. If I'm really cheating, I'll buy a cheese-topped baguette from the supermarket and have that with this, but as I've been off and I've had some time, I decided I could make my own bread. Well, I could throw ingredients in my breadmaker and get it to do the hard work, but you know what I mean! This to me is comfort food at its finest. Its also pretty cheap, assuming you have a fairly well-stocked store cupboard.
For the bread you will need:
Strong white flour (I used one with seeds and grains in it, which worked really well)
Dried Yeast
Sugar
Salt
Cheddar Cheese
Cooked Bacon, chopped
Tap water
For the soup you will need:
3-4 red onions (I used a net of 3, along with a half onion I had left from a dinner earlier in the week)
3-4 white onions (I used a net of 4 today)
2 garlic cloves
1L beef stock
Half-fat creme fraiche
Chives
I put the bread in the breadmaker last night and stuck the timer on so it would be ready this morning.
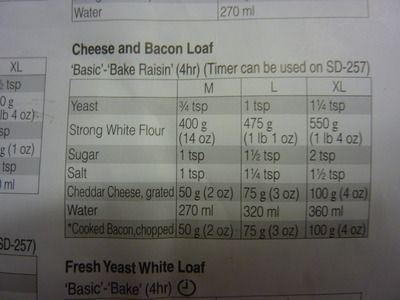
This was the recipe from the booklet that came with my breadmaker. I opted for the 'large' loaf.
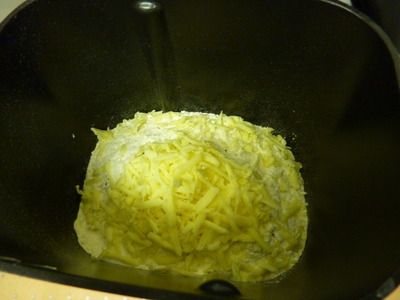
Here are all the dry ingredients in the pan, after this I sloshed in the water, pressed the buttons and let it do its thing! My breadmaker has a special chute in the lid where I put the chopped bacon. By selecting a 'raisin' cycle, the chute opened and dropped in the bacon at the appropriate time! Amazing!
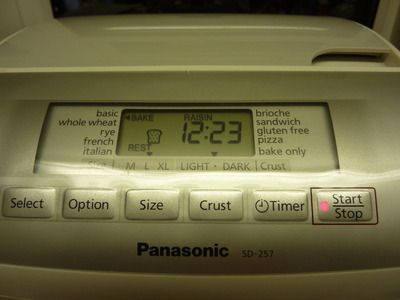
And here's the breadmaker last night, on its countdown, doing its thing!
Flash forward to this morning, when I made my soup. Here's how! First you assemble your cooking ingredients (yep, loads of ingredients!):
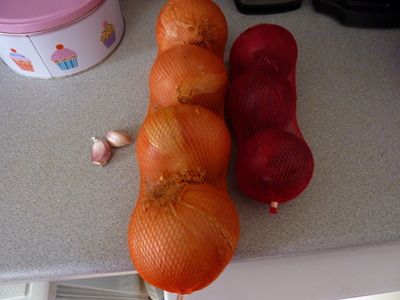
Then you break out the second cheats gadget, the Kenwood Timer Chef, and attach the food processor attachment, with the cutting blade inside:
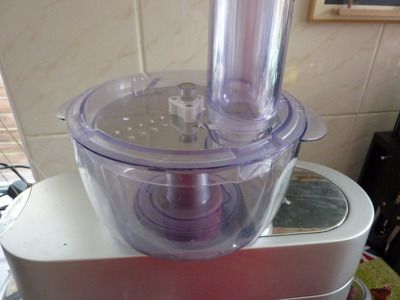
You then peel and half your onions. If they won't fit down the chute, as some of mine didn't, cut the bigger halves into quarters. You then fire up the machine and push all the onions down the chute of the food processor until you have lots and lots of finely sliced onions:

Yep, it took me 1 min 25 seconds to chop up 7 1/2 onions! In fact, this was a bit slow on my part as I hadn't cut all the onion pieces down to fit in the chute, so I had to sort of force some of them down! You can of course finely slice all the onions by hand, but lets face it, who wants to do that?! You then pop your largest saucepan on the hob and splash a bit of oil in it (I used bogstandard olive oil but any flavourless oil will be fine), when the oil has heated up (keep the temperature fairly low), tip all your onions in. You will be faced with something that looks like this:

The onions will wilt down eventually. You now want to slow cook the onions for 20 minutes, you don't want them to get any colour rather just soften down.You don't need to stand over the onions for the 20 minutes, but you will want to be around to give them a stir every now and then so they all cook down evenly. After about 10 minutes (so halfway into the cooking), they will look like this:

After another 10 minutes, slice two cloves of garlic up into small pieces and pop them in with the onions. Give the mix another 10 minutes of cooking. Here's the garlic going in:

After the 10 minutes or so is up, the whole thing will be a big sticky soft lump in your saucepan. The onions will have leaked out some water and so will be swimming in a small amount of onion 'stock'. This helps with the flavour! Here's what it'll look like:
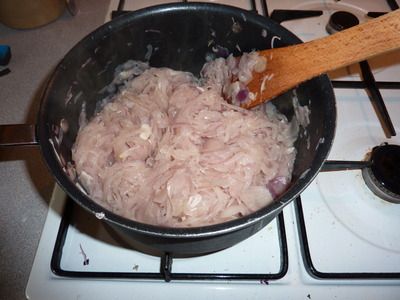
Doesn't look particularly inspiring but bear with me! Next, crack out the beef stock. I always use stock cubes or stock granules. For this particular soup, Oxo beef stock cubes are my go to. The Knorr beef stock cubes aren't dark enough to give this soup the colour it really needs. I use 5 stock cubes to make the 1 litre of stock you need:

You make up the stock and add it to the saucepan, give everything a stir then simmer the soup for a minimum of 10 minutes to bring everything together:

Meanwhile, as soon as the breadmaker beeps, the bread is done!
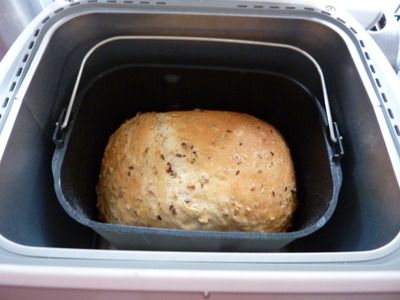
So you squee with excitement (this is an optional stage!) and turn it out onto a cooling rack to cool:

When you're ready to serve up, spoon some soup into a bowl and top with a heaped dessert spoon of creme fraiche and snip over a few chives. Serve with a lovely plate of freshly made bread:

Eat, enjoy and feel smug! The leftover soup will keep for a few days in the fridge, and also freezes well too. In fact, like most leftovers, this soup tastes better the next day. I've taken this to work quite a few times and its always brought me some comfort at my desk on a busy day.
I will leave you with grauitous picture of my bread. I'm really glad I tried this seed-y flour rather than plain strong white flour. The bread wasn't enormously cheese-y or bacon-y, but had just enough. My OH suggested this would made delicious cheese on toast, so I think tomorrow we'll eat our soup leftovers with cheese on toast with this bread! You can undoubtedly make this bread by hand, and making bread by hand is very satisfying. The best starter recipes are from Delia Smith, here is the white bread recipe and here is the wholemeal recipe. You can then start to add things and adapt things to suit you once you've mastered these. I spent about £3.50 on the ingredients I didn't have lurking in my cupboards, and this will last two of us for two days and probably one final portion for me, so that's pretty good value!
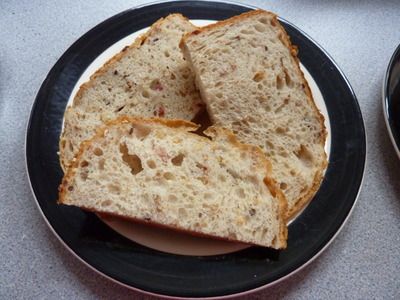
Please let me know if you try this recipe, I'd love to know what you thought of it!


0 comments